Install Virtual Machines Using Command Line Only
Why Automated Install?
I have already written a post on installing Virtual Machine using virt-manager along with its performance at https://wxguy.in/posts/test-os-using-virtual-machine. Despite, the performance being suboptimal, I tend to use libvirt owing to the flexibility it offers. It is also time to check the performance of libvirt as the technology has improved over the year or so. This post is about installing a Virtual Machine using virt-install rather than virt-manager. virt-install is a command-line interface to libvirt, which offers all the features of virt-manager from a terminal interface.
Check for Hardware Support
It is always better to check if the hardware supports virtualisation for improved performance of the guest OS. You can use:
1
grep -E --color=auto 'vmx|svm|0xc0f' /proc/cpuinfo
which should produce some result highlighting vmx. This means your hardware is supported for virtualization. You can also use the following commands as well:
1
lsmod | grep kvm
Prepare Host System
I use Arch Linux. Therefore, the following command is enough to pull all the necessary system packages.
1
paru -S vir-install virt-viewer dnsmasq dmidecode vde2 bridge-utils
For different distros, you should check for equivalent commands.
You must enable and start the libvirtd service. Check if the service is already running:
1
sudo systemctl status libvirtd
If the service is not running, enable and start the service:
1
2
sudo systemctl enable libvirtd
sudo systemctl start libvirtd
We should also add kvm and libvirt to the user group:
1
2
sudo usermod -aG libvirt $(whoami)
sudo usermod -aG kvm $(whoami)
By default, only the root or admin has the privilege to execute all the commands. This can be changed by editing /etc/libvirt/qemu.conf file. Search for user = line in /etc/libvirt/qemu.conf and add username to it:
1
user = "username"
The username should be your real username. In my case it is user="sundar".
Start the network during boot so that guests can communicate with the host seamlessly.
1
sudo virsh net-autostart default
The main cli application to handle VM related options is virsh. Therefore, it is better to go through all the options using or online man page can be found at https://man.archlinux.org/man/virt-install.1:
1
sudo virsh --help
Install Guest Operating System
We have to decide on which OS we need to install. virsh supports a lot of OS which can be installed as a guest. The list of supported guest OSs can be checked with the following command:
1
osinfo-query os
which will produce a lot of text in the terminal. I have decided to install Ubuntu 24.04. therefore, I restricted my list with the following command:
1
osinfo-query os | grep -i ubuntu
I have noted the name ubuntu24.04 which was presented against Ubuntu 22.04. This is necessary as the name of the OS is required to be provided as part of cli option.
To install Ubuntu 24.04 as a guest, there is only one command we need to use which is lengthy. Issue the following command in the terminal:
1
virt-install --os-variant ubuntu24.04 --name ubuntu24.04 --cdrom /mnt/data/Data/distros/ubuntu-24.04.2-desktop-amd64.iso --virt-type=kvm --osinfo detect=on,require=on --ram 8192 --vcpus 4 --disk path=/mnt/data/Data/VBOXs/ubuntu24.04.img,format=raw,size=190 --connect=qemu:///system --filesystem source.dir="/mnt/data/Data",target.dir="data",type=mount,mode=passthrough,driver.type=virtiofs --filesystem source.dir="/home/sundar",target.dir="arch",type=mount,mode=passthrough,driver.type=virtiofs --memorybacking access.mode=shared,source.type=memfd
where:
--os-variantis the name of a guest OS supported by virt-install. We have to use the same name we took after issuingosinfo-query oscommand.--nameis the name of a guest OS you would like to refer to. Normally, it is suggested to keep the same name that we have set for--os-variantoption.--cdromis the option to provide a path to the Ubuntu 24.04 ISO file.--virt-typeis the type of hypervisor to choose. Keepkvmas it is well-supported under Linux.--osinfois required to optimise the guest configuration byvirt-install.detect=onwill makevirt-installto attempt the correct configuration from the ISO file.require=onoption enables the application to look for the correct configuration.--ramoption is for allocating maximum RAM for guest OS in MB. I have 16GB of total RAM and hence allocated ~ 8GB/ 8192MB.--vcpusis to allocate no of virtual CPUs. 4 is half of my total available processors.--diskis the path to store guest OS image.path=is used for specifying the path to the local file.formatis for specifying the type of file format. I choose raw as it is slightly faster, as per some reports found online. Also,size=is used for providing the size of the HDD for a guest OS.--connectis used to connect to a specific hypervisor.qemu:///systemis the default and most users want it.--filesystemis a very important option to share a directory between host and guest OS. This option can be provided multiple times depending on no f shared directory you may wish to use.source.diris used for providing a directory path you need to share.target.diris not a path. It is simply a placeholder which will be identified by a guest OS.type,modedriver.typeare other options required for proper mounting of shared folder. Do not change these options.--memorybackingoption will influence how virtual memory pages are backed by host pages. Do not change it.
Once the above command is issued, the virt-viewer will bring up the next window with Ubuntu 24.04 guest OS booting. Follow the on-screen instructions to install OS. After installing the guest OS. You can shutdown the guest system.
Post Guest OS Install
You can list all the guest OSs installed using virt-install using:
1
sudo virsh list --all
If you wish to start a specific guest OS and in our case Ubuntu 24.04, you can use the following command:
1
sudo virsh start ubuntu24.04
To access Guest OS using a seperate GUI, use virt-viewer with the following options:
1
virt-viewer --connect qemu:///system ubuntu22.04
You can combine both above two commands using a single command as listed below:
1
sudo virsh start ubuntu22.04 && virt-viewer --connect qemu:///system ubuntu22.04
After booting Ubuntu 24.04, you must install the following packages for better clipboard (copy and paste between host and guest) and networking support:
1
sudo apt install spice-vdagent  openssh-server
If you want to access the guest OS using ssh, then you must ensure the SSH service is running on the guest OS. Use the following command to check the status:
1
sudo systemctl status ssh
In my case, it was disabled as shown below:
1
2
3
4
5
6
ssh.service - OpenBSD Secure Shell server
     Loaded: loaded (/usr/lib/systemd/system/ssh.service; disabled; preset: ena>
     Active: inactive (dead)
TriggeredBy: \u25cf ssh.socket
       Docs: man:sshd(8)
             man:sshd_config(5)
I enabled and started the ssh service with following command:
1
sudo systemctl enable sshd && sudo systemctl start sshd
Once you are done. Get IP address of the guest using the following command from the the host terminal:
1
sudo virsh domifaddr ubuntu24.04
which should show you the guest IP address with the port number as shown below:
1
2
3
4
 Name       MAC address          Protocol     Address
-------------------------------------------------------------------------------
 vnet1      52:54:00:9e:89:5d    ipv4         192.168.122.79/24
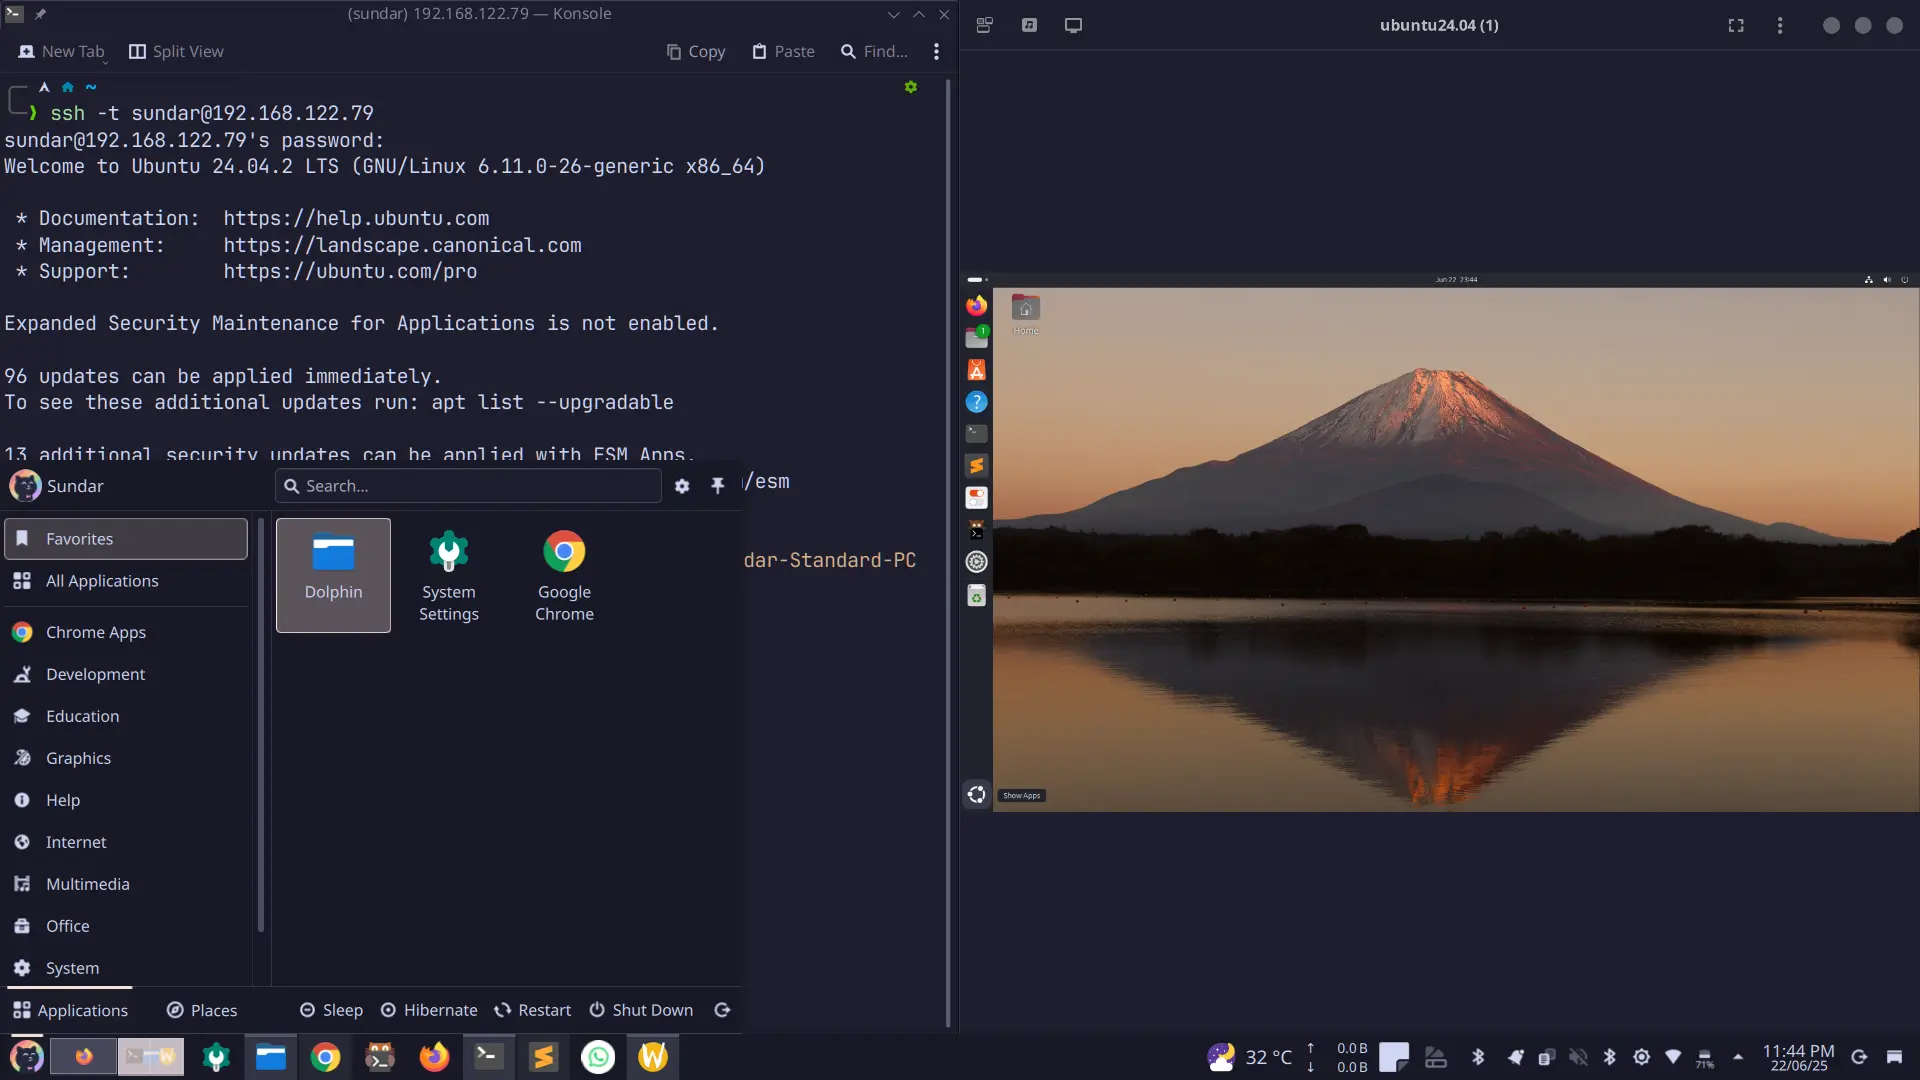
Now you can connect using ssh as shown below:
1
ssh -t -p 22 sundar@192.168.122.79
where:
-tis used for producing colour output in the terminal.-pis port number.sundaris the username of the guest.192.168.122.79is the IP address of the guest.
When you try the above command, it should present you with the following screen with a request to accept fingerprint:
1
2
3
4
5
6
7
ssh sundar@192.168.122.79
The authenticity of host '192.168.122.79 (192.168.122.79)' can't be established.
ED25519 key fingerprint is SHA256:AA11+jl0Qj6eWxffh+fRfghJx8XIlgthUFQi78OWGuU.
This key is not known by any other names.
Are you sure you want to continue connecting (yes/no/[fingerprint])? yes
Warning: Permanently added '192.168.122.79' (ED25519) to the list of known hosts.
sundar@192.168.122.79's password:
To access the shared folder, you must mount the file system. For this, firstly create directories with the following commands:
1
2
sudo mkdir -p /mnt/data
sudo mkdir -p /mnt/arch
Now mount the shared folder with the following command:
1
2
sudo mount -t virtiofs data /mnt/data
sudo mount -t virtiofs arch /mnt/arch
where:
dataandarchare placeholders we have used while issuingvirt-installcommand.
To make the mounting permanent and able to access shared directories on every boot, add the following lines in /etc/fstab file:
1
2
3
4
data           /mnt/data    virtiofs    defaults        0       0

arch           /mnt/arch    virtiofs    defaults        0       0
Shared Folder Performance Using virtiofs
I performed the same test stated at https://wxguy.in/posts/test-os-using-virtual-machine/#the-bad to know if any improvement after introduction of virtiofs for sharing directory/ files between host and guest OS. I copied a directory from Host OS to ~/Documents of Guest OS and measured the time taken to complete the process. The size of this directory is 2.5GB and it contains 17,557 files under various subdirectories. Here is the test result:
virtiofs(current setup) : 46.6 Secvirtio-9p(old setup) : 16.32 Min
The result is damn impressive.
List of Useful virsh Commands
Here are some of the useful commands you must know which will come the handy:
| Command | Utility |
|---|---|
sudo virsh list --all | List all installed guest OSs. |
sudo virsh list | List only active guest OS. |
sudo virsh start ubuntu24.04 | Start specific guest OS. |
sudo virsh reboot ubuntu24.04 | Reboot VM. |
sudo virsh shutdown ubuntu24.04 | Shutdown specific guest OS. |
sudo virsh destroy ubuntu24.04 | Forcefully shutdown guest OS. |
sudo virsh autostart ubuntu24.04 | Autostart guest OS on booting host OS. |
sudo virsh autostart --disable ubuntu24.04 | Disable guest OS from autostart. |
sudo virsh undefine ubuntu24.04 --remove-all-storage | Remove guest OS with all associated storage. |