How I Upgraded Blog Theme to Latest Chripy Upstream Version
Why Upgrade Blog Theme
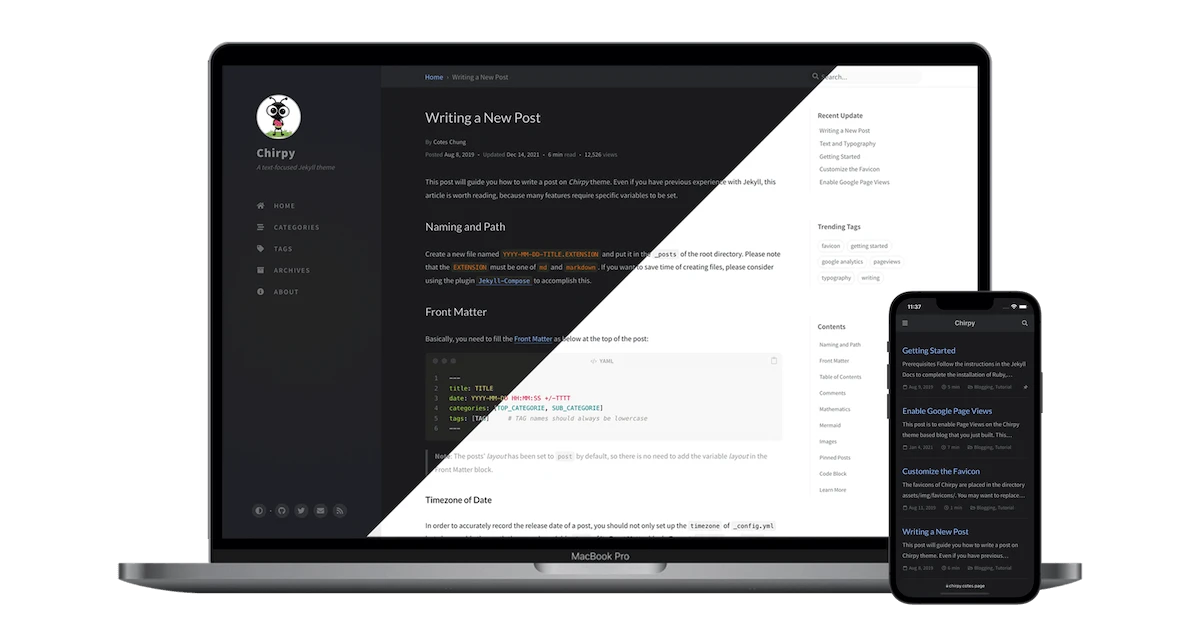
I started this blog in May 2024 with https://chirpy.cotes.page as my chosen theme. At the time of the creation of this blog, the version of the chirpy theme was 5.12. The chirpy theme is constantly evolving, and many new features are added to the current version. When I checked the official blog, I realised that it is updated with a lot of goodies which I wanted to incorporate into this site. Especially I liked the addition of thumbnails and smooth transition loading of full-scale images in blog posts. Unfortunately, there was no mention of upgrade procedures in https://chirpy.cotes.page. They have a separate guide for upgrades and other stuff at https://github.com/cotes2020/jekyll-theme-chirpy/wiki. I don’t understand why do you need to have guides at two separate locations when you already have a beautiful website for the project. The exact procedure on how to upgrade the blog theme is mentioned here.
Official Procedure to Upgrade
As per the official wiki, here is the list of steps to be performed:-
- Add upstream blog theme repo into your own repo
- Handling of submodules (add or ignore)
- Get updates from the chirpy theme repo
- Merge updated files and solve all conflicts manually
- Create a new commit
- Update bundle
It all looks simple procedure at first sight. However, I found it to be very hard to upgrade even after solving all conflicts successfully. Finally, When I ran the blog locally, I ended up having the following error:
1
2
3
4
5
6
7
8
9
10
11
12
13
14
15
16
17
18
19
20
21
22
23
24
25
26
27
28
29
30
31
32
33
34
35
36
37
38
39
40
41
42
43
44
 Liquid Exception: Could not locate the included file 'timeago.html' in any of ["D:/Data/myblog/wxguy.github.io/_includes", "C:/Ruby33-x64/lib/ruby/gems/3.3.0/gems/jekyll-theme-chirpy-7.2.4/_includes"]. Ensure it exists in one of those directories and, if it is a symlink, does not point outside your site source. in D:/Data/myblog/wxguy.github.io/_layouts/post.html
C:/Ruby33-x64/lib/ruby/gems/3.3.0/gems/jekyll-4.3.4/lib/jekyll/tags/include.rb:219:in `locate_include_file': Could not locate the included file 'timeago.html' in any of ["D:/Data/myblog/wxguy.github.io/_includes", "C:/Ruby33-x64/lib/ruby/gems/3.3.0/gems/jekyll-theme-chirpy-7.2.4/_includes"]. Ensure it exists in one of those directories and, if it is a symlink, does not point outside your site source. (IOError)
        from C:/Ruby33-x64/lib/ruby/gems/3.3.0/gems/jekyll-4.3.4/lib/jekyll/tags/include.rb:201:in `render'
        from C:/Ruby33-x64/lib/ruby/gems/3.3.0/gems/liquid-4.0.4/lib/liquid/block_body.rb:103:in `render_node_to_output'
        from C:/Ruby33-x64/lib/ruby/gems/3.3.0/gems/liquid-4.0.4/lib/liquid/block_body.rb:91:in `render'
        from C:/Ruby33-x64/lib/ruby/gems/3.3.0/gems/liquid-4.0.4/lib/liquid/template.rb:206:in `block in render'
        from C:/Ruby33-x64/lib/ruby/gems/3.3.0/gems/liquid-4.0.4/lib/liquid/template.rb:240:in `with_profiling'
        from C:/Ruby33-x64/lib/ruby/gems/3.3.0/gems/liquid-4.0.4/lib/liquid/template.rb:205:in `render'
        from C:/Ruby33-x64/lib/ruby/gems/3.3.0/gems/liquid-4.0.4/lib/liquid/template.rb:218:in `render!'
        from C:/Ruby33-x64/lib/ruby/gems/3.3.0/gems/jekyll-4.3.4/lib/jekyll/liquid_renderer/file.rb:39:in `block (3 levels) in render!'
        from C:/Ruby33-x64/lib/ruby/gems/3.3.0/gems/jekyll-4.3.4/lib/jekyll/liquid_renderer/file.rb:59:in `measure_counts'
        from C:/Ruby33-x64/lib/ruby/gems/3.3.0/gems/jekyll-4.3.4/lib/jekyll/liquid_renderer/file.rb:38:in `block (2 levels) in render!'
        from C:/Ruby33-x64/lib/ruby/gems/3.3.0/gems/jekyll-4.3.4/lib/jekyll/liquid_renderer/file.rb:63:in `measure_bytes'
        from C:/Ruby33-x64/lib/ruby/gems/3.3.0/gems/jekyll-4.3.4/lib/jekyll/liquid_renderer/file.rb:37:in `block in render!'
        from C:/Ruby33-x64/lib/ruby/gems/3.3.0/gems/jekyll-4.3.4/lib/jekyll/liquid_renderer/file.rb:70:in `measure_time'
        from C:/Ruby33-x64/lib/ruby/gems/3.3.0/gems/jekyll-4.3.4/lib/jekyll/liquid_renderer/file.rb:36:in `render!'
        from C:/Ruby33-x64/lib/ruby/gems/3.3.0/gems/jekyll-4.3.4/lib/jekyll/renderer.rb:129:in `render_liquid'
        from C:/Ruby33-x64/lib/ruby/gems/3.3.0/gems/jekyll-4.3.4/lib/jekyll/renderer.rb:192:in `render_layout'
        from C:/Ruby33-x64/lib/ruby/gems/3.3.0/gems/jekyll-4.3.4/lib/jekyll/renderer.rb:161:in `place_in_layouts'
        from C:/Ruby33-x64/lib/ruby/gems/3.3.0/gems/jekyll-4.3.4/lib/jekyll/renderer.rb:93:in `render_document'
        from C:/Ruby33-x64/lib/ruby/gems/3.3.0/gems/jekyll-4.3.4/lib/jekyll/renderer.rb:63:in `run'
        from C:/Ruby33-x64/lib/ruby/gems/3.3.0/gems/jekyll-4.3.4/lib/jekyll/site.rb:572:in `render_regenerated'
        from C:/Ruby33-x64/lib/ruby/gems/3.3.0/gems/jekyll-4.3.4/lib/jekyll/site.rb:557:in `block (2 levels) in render_docs'
        from C:/Ruby33-x64/lib/ruby/gems/3.3.0/gems/jekyll-4.3.4/lib/jekyll/site.rb:556:in `each'
        from C:/Ruby33-x64/lib/ruby/gems/3.3.0/gems/jekyll-4.3.4/lib/jekyll/site.rb:556:in `block in render_docs'
        from C:/Ruby33-x64/lib/ruby/gems/3.3.0/gems/jekyll-4.3.4/lib/jekyll/site.rb:555:in `each_value'
        from C:/Ruby33-x64/lib/ruby/gems/3.3.0/gems/jekyll-4.3.4/lib/jekyll/site.rb:555:in `render_docs'
        from C:/Ruby33-x64/lib/ruby/gems/3.3.0/gems/jekyll-4.3.4/lib/jekyll/site.rb:210:in `render'
        from C:/Ruby33-x64/lib/ruby/gems/3.3.0/gems/jekyll-4.3.4/lib/jekyll/site.rb:80:in `process'
        from C:/Ruby33-x64/lib/ruby/gems/3.3.0/gems/jekyll-4.3.4/lib/jekyll/command.rb:28:in `process_site'
        from C:/Ruby33-x64/lib/ruby/gems/3.3.0/gems/jekyll-4.3.4/lib/jekyll/commands/build.rb:65:in `build'
        from C:/Ruby33-x64/lib/ruby/gems/3.3.0/gems/jekyll-4.3.4/lib/jekyll/commands/build.rb:36:in `process'
        from C:/Ruby33-x64/lib/ruby/gems/3.3.0/gems/jekyll-4.3.4/lib/jekyll/command.rb:91:in `block in process_with_graceful_fail'
        from C:/Ruby33-x64/lib/ruby/gems/3.3.0/gems/jekyll-4.3.4/lib/jekyll/command.rb:91:in `each'
        from C:/Ruby33-x64/lib/ruby/gems/3.3.0/gems/jekyll-4.3.4/lib/jekyll/command.rb:91:in `process_with_graceful_fail'
        from C:/Ruby33-x64/lib/ruby/gems/3.3.0/gems/jekyll-4.3.4/lib/jekyll/commands/serve.rb:86:in `block (2 levels) in init_with_program'
        from C:/Ruby33-x64/lib/ruby/gems/3.3.0/gems/mercenary-0.4.0/lib/mercenary/command.rb:221:in `block in execute'
        from C:/Ruby33-x64/lib/ruby/gems/3.3.0/gems/mercenary-0.4.0/lib/mercenary/command.rb:221:in `each'
        from C:/Ruby33-x64/lib/ruby/gems/3.3.0/gems/mercenary-0.4.0/lib/mercenary/command.rb:221:in `execute'
        from C:/Ruby33-x64/lib/ruby/gems/3.3.0/gems/mercenary-0.4.0/lib/mercenary/program.rb:44:in `go'
        from C:/Ruby33-x64/lib/ruby/gems/3.3.0/gems/mercenary-0.4.0/lib/mercenary.rb:21:in `program'
        from C:/Ruby33-x64/lib/ruby/gems/3.3.0/gems/jekyll-4.3.4/exe/jekyll:15:in `<top (required)>'
        from C:/Ruby33-x64/bin/jekyll:25:in `load'
        from C:/Ruby33-x64/bin/jekyll:25:in `<main>'
I requested help in the Official repo. However, the author advised me to follow the upgrade guide, which I have already followed, and I was stuck at this point.
Procedure I Followed to Upgrade
This is where my earlier posts on creating a new Jekyll blog and enabling page views for posts came handy. Here are the steps I followed:-
- Clone chirpy stater repo
- Edit the
_config.ymlfile - Place all blog post files
*.mdin the_postsdirectory - Restore static asset
assets/imgdirectory - Execute
bundle update
After following the above procedures, I found that my blog was up and running but pages and assets were not rendered properly. Reading through the release notes on every release since version 5.1.2 official from release page. A few of the syntax have been changed and accordingly, I have to edit all my blog post metadata to solve this issue.
Conclusion
The procedure I have adopted as listed above is also having manual intervention in editing certain files. In this case, I was editing my files rather than upstream codes. This method I found convenient and my blog was up and running in a few min rather than spending hours of time following the official upgrade guide.
